DIY Nightmare Before Christmas Tree: A Spooktacular Holiday Masterpiece
Related Articles: DIY Nightmare Before Christmas Tree: A Spooktacular Holiday Masterpiece
- Best Business Ideas In Village 2025: Unleashing Rural Entrepreneurship
- Bedroom Images Ideas 2025: Envisioning The Future Of Sleep
- Best Small Business Ideas For 2024-2025
- Best Business Ideas For 2024-2025: Embracing Innovation And Disruption
- Creative Ideas For Projects 2025: Embracing Innovation And Shaping The Future
Introduction
In this auspicious occasion, we are delighted to delve into the intriguing topic related to DIY Nightmare Before Christmas Tree: A Spooktacular Holiday Masterpiece. Let’s weave interesting information and offer fresh perspectives to the readers.
Table of Content
Video about DIY Nightmare Before Christmas Tree: A Spooktacular Holiday Masterpiece
DIY Nightmare Before Christmas Tree: A Spooktacular Holiday Masterpiece
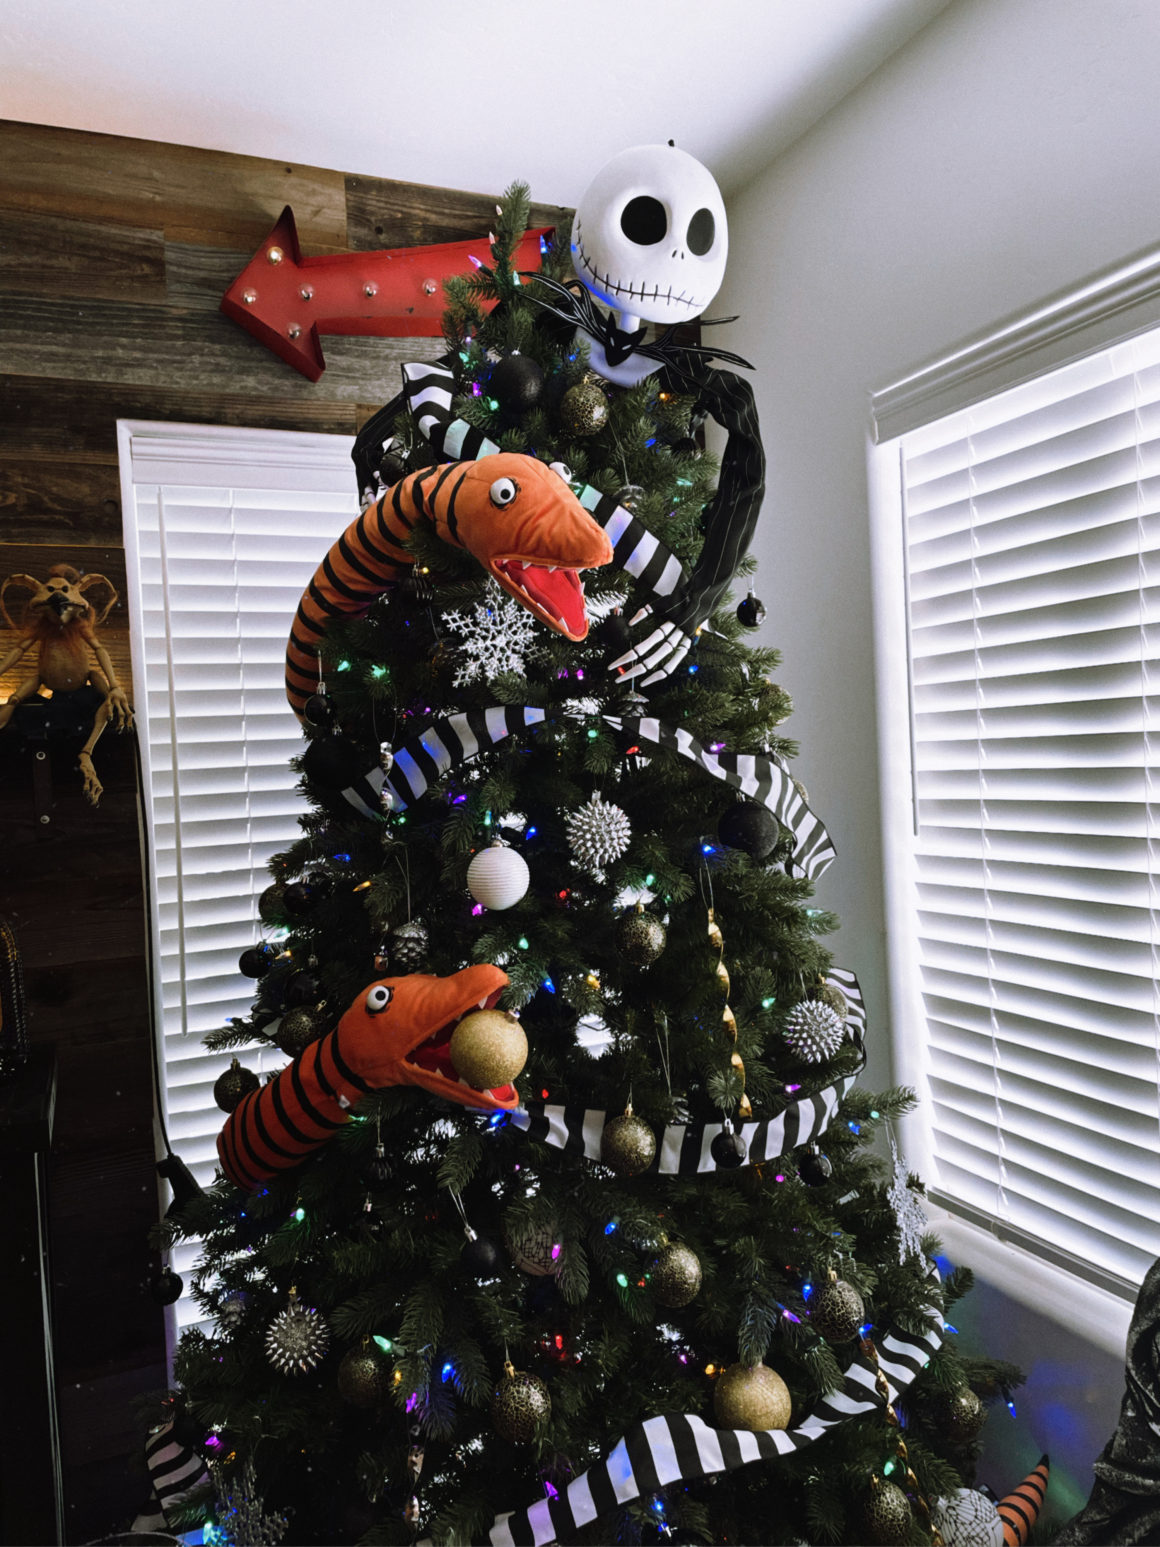
Step into the whimsical and eerie world of Tim Burton’s beloved film, The Nightmare Before Christmas, and create a stunningly unique holiday decoration that will leave your guests spellbound. This comprehensive guide will take you through the enchanting process of crafting a DIY Nightmare Before Christmas tree, complete with step-by-step instructions, a comprehensive materials list, and captivating design ideas.
Materials:
- Artificial Christmas tree (any size and shape)
- Black spray paint
- White spray paint
- Blue spray paint
- Purple spray paint
- Red spray paint
- Green spray paint
- Orange spray paint
- Yellow spray paint
- Brown spray paint
- Silver spray paint
- Gold spray paint
- Glitter spray paint
- Christmas lights (white, blue, purple, red, green, orange, yellow, brown, silver, gold, and glitter)
- Ornaments (skulls, bats, pumpkins, spiders, ghosts, and other Halloween-themed decorations)
- Ribbon (black, white, blue, purple, red, green, orange, yellow, brown, silver, gold, and glitter)
- Tinsel (black, white, blue, purple, red, green, orange, yellow, brown, silver, gold, and glitter)
- Garland (black, white, blue, purple, red, green, orange, yellow, brown, silver, gold, and glitter)
- Fabric (black, white, blue, purple, red, green, orange, yellow, brown, silver, gold, and glitter)
- Glue gun and glue sticks
- Scissors
- Wire cutters
- Paintbrushes
- Masking tape
- Newspaper or plastic sheeting
Step-by-Step Instructions:
1. Prepare Your Workspace
Cover your workspace with newspaper or plastic sheeting to protect it from paint and glitter. Wear gloves and a mask to avoid inhaling fumes.
2. Paint the Tree
- Start by spray painting the entire tree black. Allow it to dry completely.
- Use masking tape to create stripes on the tree. Spray paint the stripes white, blue, purple, red, green, orange, yellow, brown, silver, gold, and glitter. Remove the tape and let dry.
3. Add the Christmas Lights
- Wrap the tree with Christmas lights in various colors. Secure the lights with wire cutters.
4. Decorate with Ornaments
- Choose ornaments that reflect the characters and themes of The Nightmare Before Christmas, such as skulls, bats, pumpkins, spiders, and ghosts. Hang the ornaments on the tree branches.
5. Add Ribbon
- Tie ribbons in various colors around the tree branches. Use different widths and textures to create a layered effect.
6. Add Tinsel
- Wrap tinsel around the tree branches. Choose tinsel in different colors and textures to match the ornaments and ribbon.
7. Add Garland
- Hang garland around the tree branches. Choose garland in different colors and textures to create a festive and whimsical atmosphere.
8. Add Fabric
- Cut fabric into strips and tie them around the tree branches. Use different colors and textures to create a unique and eye-catching display.
9. Add the Finishing Touches
- Use a glue gun to attach any additional decorations, such as glitter, sequins, or beads.
- Step back and admire your stunning Nightmare Before Christmas tree!
Design Ideas:
- Jack Skellington Tree: Paint the tree black and white, and decorate it with ornaments featuring Jack Skellington, Sally, and Zero. Add blue and purple lights for a spooky touch.
- Sally’s Patchwork Tree: Paint the tree in a patchwork of colors, and decorate it with fabric scraps, ribbons, and buttons. Add pink and green lights for a whimsical touch.
- Oogie Boogie Tree: Paint the tree brown and green, and decorate it with ornaments featuring Oogie Boogie, Lock, and Shock. Add orange and yellow lights for a creepy touch.
- Zero’s Ghost Tree: Paint the tree white and blue, and decorate it with ornaments featuring Zero the ghost dog. Add silver and glitter lights for a magical touch.
- Dr. Finkelstein’s Laboratory Tree: Paint the tree black and silver, and decorate it with ornaments featuring Dr. Finkelstein, his inventions, and his dog Sparky. Add red and green lights for a festive touch.
Tips:
- Use a variety of colors and textures to create a visually appealing tree.
- Don’t be afraid to experiment with different design ideas.
- Take your time and enjoy the creative process.
- Share your finished tree with friends and family to spread the holiday cheer!
Immerse yourself in the haunting and heartwarming world of The Nightmare Before Christmas with this enchanting DIY tree. Its unique design and festive spirit will make it a cherished holiday tradition for years to come.
![[IMGSRCTITLE2]](https://i.pinimg.com/originals/f4/21/63/f421636896958246a0dbcee415c51674.jpg)
![[IMGSRCTITLE3]](https://www.digsdigs.com/photos/2020/11/a-silver-lit-up-Nightmare-Before-Christmas-tree-with-Jack-ornaments-and-striped-ribbons-is-a-lovely-and-bold-idea-to-rock.jpg)
![[IMGSRCTITLE4]](https://i.imgur.com/p5KdPiA.jpg)
![[IMGTITLE5]](https://homyhomee.com/wp-content/uploads/2021/04/0787f385e21f80b940f0c933bb5a0409-1.jpg?is-pending-load=1)
![[IMGTITLE6]](https://i.pinimg.com/originals/05/9a/30/059a30a0ab233beb4ba771d32c2d257d.jpg)
![[IMGTITLE7]](https://icecreamandneondreams.com/wp-content/uploads/2021/11/B6652497-BEDF-4CE0-829C-4603D37ABFFF-1160x1547.jpeg)
![[IMGTITLE8]](https://www.housewifeeclectic.com/wp-content/uploads/2018/09/Nightmare-Before-Christmas-Tree-4.jpg)
![[IMGTITLE9]](https://i.pinimg.com/originals/db/64/29/db6429412edf6652db5e05cf122e307d.jpg)
Closure
Thus, we hope this article has provided valuable insights into DIY Nightmare Before Christmas Tree: A Spooktacular Holiday Masterpiece. We hope you find this article informative and beneficial. See you in our next article!